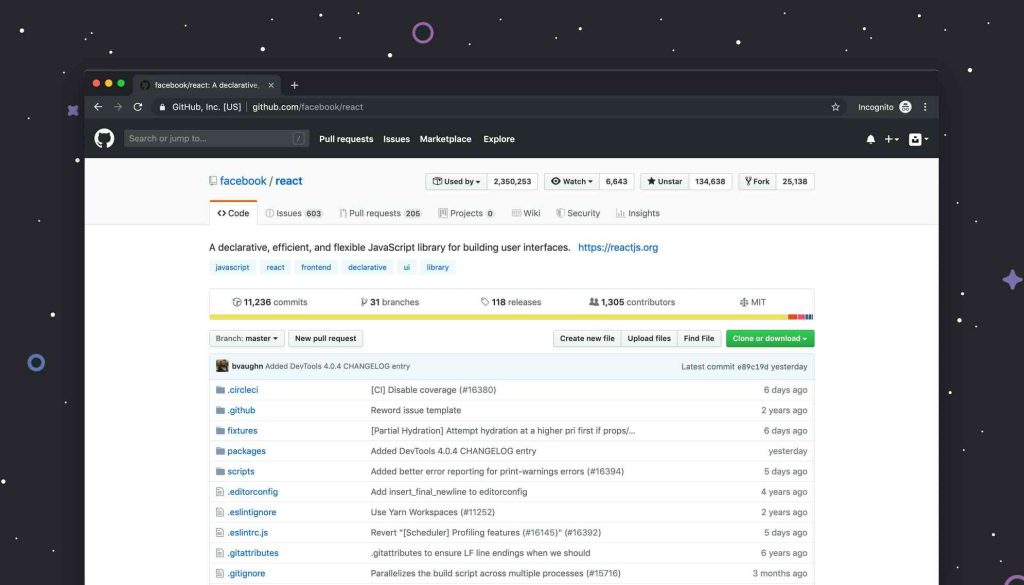
If you're looking to bring the power and convenience of a GitHub-like interface to your local machine, you’re in luck. With tools like GitLab, Gitea, and others, you can have a robust, self-hosted Git repository manager right on your laptop. This guide will walk you through the steps to set up a local GitHub-like interface using GitLab, one of the most powerful and feature-rich options available.
Table of Contents
Introduction
Why Host a Local GitHub-Like Interface?
Hosting a local GitHub-like interface on your laptop offers several benefits:
- Privacy: Keep your code and projects private and secure.
- No Internet Dependency: Work on your projects without needing an internet connection.
- Complete Control: Customize the environment to suit your specific needs.
What You’ll Need
- A laptop running Ubuntu (or any Linux distribution).
- Administrative privileges to install and configure software.
- Basic knowledge of using the terminal.

Step-by-Step Guide to Installing GitLab on Your Laptop
Step 1: Update Your System
Before installing any software, it’s essential to update your package lists and upgrade your existing packages.
|
1 2 |
sudo apt update sudo apt upgrade -y |
Step 2: Install Required Dependencies
GitLab requires several dependencies to be installed on your system. These include curl, OpenSSH server, and ca-certificates.
|
1 |
sudo apt install -y curl openssh-server ca-certificates tzdata perl |
Step 3: Install Postfix for Email Notifications
GitLab uses Postfix to send email notifications. Install Postfix with the following command. During the installation, select 'Internet Site' and use your laptop’s hostname.
|
1 |
sudo apt install -y postfix |
Step 4: Add the GitLab Repository and Install GitLab CE
Add the official GitLab package repository and then install GitLab CE.
|
1 2 |
curl https://packages.gitlab.com/install/repositories/gitlab/gitlab-ce/script.deb.sh | sudo bash sudo apt install gitlab-ce |
Step 5: Configure GitLab
After installation, configure GitLab by running the following command. Replace localhost with your preferred domain name or leave it as is for local access.
|
1 |
sudo gitlab-ctl reconfigure |
Step 6: Access GitLab Web Interface
Open your web browser and navigate to http://localhost. The first time you log in, you’ll need to set up the root password.
Additional Configuration
Configuring GitLab for HTTPS (Optional)
To secure your GitLab instance with HTTPS, you can use a self-signed certificate or a CA-signed certificate if you have one.
- Generate a Self-Signed Certificate:
|
1 2 |
sudo mkdir -p /etc/gitlab/ssl sudo openssl req -newkey rsa:4096 -nodes -keyout /etc/gitlab/ssl/gitlab.key -x509 -days 365 -out /etc/gitlab/ssl/gitlab.crt |
- Configure GitLab to Use the Certificate:
Edit the GitLab configuration file:
|
1 |
sudo nano /etc/gitlab/gitlab.rb |
Uncomment and set the following lines:
|
1 2 3 |
external_url 'https://localhost' nginx['ssl_certificate'] = "/etc/gitlab/ssl/gitlab.crt" nginx['ssl_certificate_key'] = "/etc/gitlab/ssl/gitlab.key" |
- Reconfigure GitLab:
|
1 |
sudo gitlab-ctl reconfigure |
Setting Up GitLab Runner
To utilize CI/CD pipelines, set up GitLab Runner.
- Download and Install GitLab Runner:
|
1 2 3 4 5 |
curl -L --output /usr/local/bin/gitlab-runner https://gitlab-runner-downloads.s3.amazonaws.com/latest/binaries/gitlab-runner-linux-amd64 sudo chmod +x /usr/local/bin/gitlab-runner sudo useradd --comment 'GitLab Runner' --create-home gitlab-runner --shell /bin/bash sudo gitlab-runner install --user=gitlab-runner --working-directory=/home/gitlab-runner sudo gitlab-runner start |
- Register GitLab Runner:
|
1 |
sudo gitlab-runner register |
Follow the prompts to enter your GitLab instance URL, registration token, description, tags, and executor.
Using Your Local GitLab
Creating Projects
- Log in to GitLab: Access your GitLab instance via
http://localhostand log in. - Create a New Project: Click on the "New Project" button and fill in the details.
- Clone the Repository: Clone your repository to your local machine using the provided SSH or HTTPS URL.
|
1 |
git clone git@localhost:username/projectname.git |
Setting Up CI/CD Pipelines
Define your CI/CD pipelines in a .gitlab-ci.yml file at the root of your project repository. Here’s a simple example:
|
1 2 3 4 5 6 7 8 9 10 11 12 13 14 15 16 17 18 19 |
stages: - build - test - deploy build: stage: build script: - echo "Building the project..." test: stage: test script: - echo "Running tests..." deploy: stage: deploy script: - echo "Deploying the project..." |
Commit this file to your repository, and GitLab will automatically run the defined pipelines.
Conclusion
Setting up a local GitHub-like interface on your laptop using GitLab CE provides a powerful platform for managing code, automating builds, and streamlining collaboration. Whether you’re a digital nomad, programmer, or data scientist, having a local instance of GitLab allows you to work offline, ensure privacy, and maintain complete control over your projects. By following this guide, you can easily install, configure, and start using GitLab CE to enhance your development workflow.
Happy coding and collaboration!

