Git is an essential tool for version control and team collaboration, especially for digital nomads, programmers, and data scientists. Whether you're working in an Agile framework, understanding how to use Git from the command line can significantly improve your workflow and productivity. This comprehensive guide will cover the basics of Git, including branches, merging, checkout, commit, pull, push, and resolving code conflicts.
Table of Contents
Introduction to Git
What is Git?
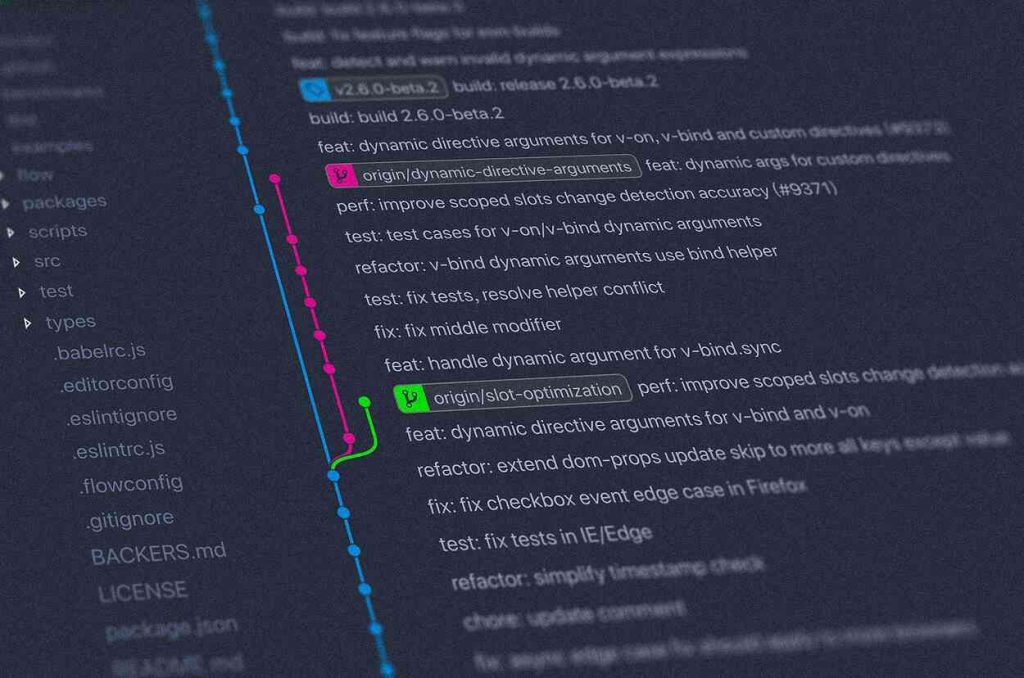
Git is a distributed version control system that allows multiple people to work on a project simultaneously without overwriting each other's changes. It tracks changes in the source code, enabling team collaboration and ensuring that the history of modifications is recorded.
Why Use Git?
For digital nomads, programmers, and data scientists, Git offers several benefits:
- Collaboration: Multiple team members can work on the same project.
- Version Control: Keeps track of every modification to the codebase.
- Branching: Allows you to work on multiple features or fixes simultaneously.
- Backup: Provides a backup of your codebase.
Setting Up Git
Installing Git
To use Git from the command line, you first need to install it. On Ubuntu, you can install Git using the following commands:
|
1 2 |
sudo apt update sudo apt install git |
Configuring Git
After installing Git, you need to configure your user name and email. This information will be included in your commits.
|
1 2 |
git config --global user.name "Your Name" git config --global user.email "your.email@example.com" |
Basic Git Commands
Initializing a Repository
To start using Git in a project, you need to initialize a Git repository.
|
1 2 |
cd /path/to/your/project git init |
Cloning a Repository
If you want to contribute to an existing project, you can clone the repository.
|
1 |
git clone https://github.com/username/repository.git |
Checking the Status
You can check the status of your working directory and staging area with the git status command.
|
1 |
git status |
Adding Changes
To add changes to the staging area, use the git add command.
|
1 |
git add filename |
To add all changes:
|
1 |
git add . |
Committing Changes
After staging your changes, commit them with a message describing what you've done.
|
1 |
git commit -m "Commit message" |
Viewing the Log
To see the commit history, use the git log command.
|
1 |
git log |
Branching and Merging
Creating a Branch
Branches allow you to work on different features or fixes independently. To create a new branch:
|
1 |
git branch branch_name |
Switching Branches
To switch to a different branch, use the git checkout command.
|
1 |
git checkout branch_name |
Merging Branches
When you’ve finished working on a branch, you can merge it back into the main branch (usually main or master).
|
1 2 |
git checkout main git merge branch_name |
Deleting a Branch
After merging, you can delete the branch if it's no longer needed.
|
1 |
git branch -d branch_name |
Collaboration with Git
Pushing Changes
To share your changes with the remote repository, use the git push command.
|
1 |
git push origin branch_name |
Pulling Changes
To update your local repository with the latest changes from the remote repository, use the git pull command.
|
1 |
git pull origin branch_name |
Resolving Conflicts
When multiple people work on the same files, conflicts can occur. Here’s how to resolve them:
- Identify the Conflict: Git will mark conflicts in the files.
- Open the File: Open the conflicted file in your text editor. You'll see conflict markers like
<<<<<<<,=======, and>>>>>>>. - Resolve the Conflict: Edit the file to resolve the conflicts between the changes.
- Add the Resolved File: Once resolved, add the file to the staging area.
|
1 |
git add filename |
- Commit the Changes: Commit the resolved changes.
|
1 |
git commit -m "Resolved conflict in filename" |
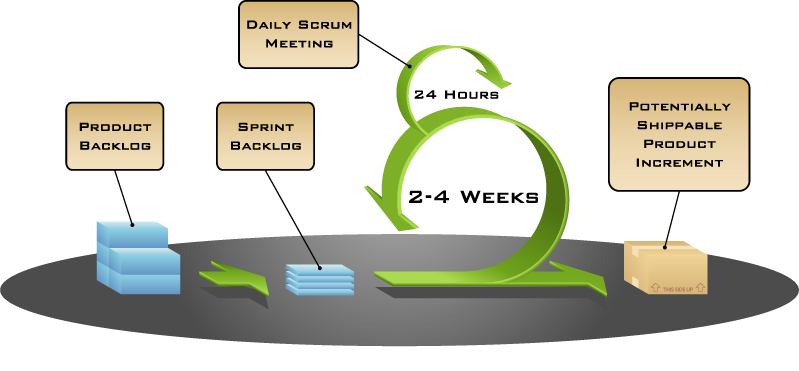
Sample Workflow in Agile

Agile Workflow
In an Agile workflow, you may need to quickly adapt and make changes. Git’s branching and merging capabilities are perfect for this.
- Create a Branch for a Task: Create a new branch for each task.
|
1 |
git checkout -b feature/task-name |
- Work on the Task: Make your changes and commit them.
|
1 2 |
git add . git commit -m "Completed task-name" |
- Merge the Task Branch: Once the task is complete, merge it back into the main branch.
|
1 2 |
git checkout main git merge feature/task-name |
- Push the Changes: Push the updated main branch to the remote repository.
|
1 |
git push origin main |
Example: Using Git in an Agile Sprint

In an Agile sprint, you typically work on multiple tasks concurrently. Each task can be handled in a separate branch to keep the main codebase clean and organized.
- Sprint Planning: At the beginning of the sprint, plan the tasks and create branches for each task.
|
1 2 |
git checkout -b sprint-1/task-1 git checkout -b sprint-1/task-2 |
- Development: Work on each task in its respective branch. Commit changes frequently to track progress.
|
1 2 |
git add . git commit -m "Progress on task-1" |
- Code Review and Testing: Before merging, ensure that each branch is reviewed and tested. Use Git’s pull request feature (if using GitHub or similar) to facilitate this.
- Merge and Deploy: Once tasks are reviewed and approved, merge them into the main branch.
|
1 2 3 |
git checkout main git merge sprint-1/task-1 git merge sprint-1/task-2 |
- Push and Deploy: Push the changes to the remote repository and deploy the updated main branch.
|
1 |
git push origin main |
Continuous Integration in Agile
Continuous Integration (CI) is a key practice in Agile development. CI systems automatically build and test your code every time you commit changes to the repository.
- Set Up CI Pipeline: Use a CI tool like Jenkins, Travis CI, or GitHub Actions to set up a pipeline that runs tests on every commit.
- Write Tests: Ensure that your codebase has sufficient test coverage. Use unit tests, integration tests, and end-to-end tests.
- Automate Testing: Configure your CI tool to run tests automatically and report any failures.
Example: Basic CI Configuration with GitHub Actions
Create a .github/workflows/ci.yml file in your repository to define a simple CI pipeline:
|
1 2 3 4 5 6 7 8 9 10 11 12 13 14 15 16 17 18 19 20 21 22 23 24 25 26 27 28 29 |
name: CI on: push: branches: - main - 'feature/**' pull_request: branches: - main jobs: build: runs-on: ubuntu-latest steps: - name: Checkout code uses: actions/checkout@v2 - name: Set up Node.js uses: actions/setup-node@v2 with: node-version: '14' - name: Install dependencies run: npm install - name: Run tests run: npm test |
This configuration sets up a CI pipeline that runs on every push to the main branch or any branch prefixed with feature/. It installs Node.js dependencies and runs tests defined in your project.
Advanced Git Commands
Stashing Changes
If you need to switch branches but have uncommitted changes, you can stash them.
|
1 |
git stash |
To apply the stashed changes:
|
1 |
git stash apply |
Rebasing
Rebasing is an alternative to merging. It moves or combines a sequence of commits to a new base commit.
|
1 2 |
git checkout feature/task-name git rebase main |
Rebasing rewrites the commit history of your branch, placing your changes on top of the latest commits in the main branch. This can create a cleaner project history but should be used with caution, especially in shared branches.
Cherry-Picking
Cherry-picking allows you to apply a commit from one branch to another. This is useful if you need to apply a specific fix or feature without merging the entire branch.
|
1 2 |
git checkout main git cherry-pick commit-hash |
Replace commit-hash with the hash of the commit you want to apply.
Conclusion
Mastering Git from the command line is an invaluable skill for digital nomads, programmers, and data scientists. Whether you’re working in an Agile framework or managing solo projects, Git's powerful features for version control and collaboration can enhance your productivity and workflow. By understanding how to use branches, merging, checkout, commit, pull, push, and resolving conflicts, you can efficiently manage your codebase and collaborate seamlessly with your team.
Keep practicing and experimenting with Git commands to fully leverage its capabilities. Happy coding!

